Then when you open Microsoft Word you either don’t see anything or you might see a copy of your file that was recovered because you didn’t save it before word closed down. The thing that does that is called AutoRecovery.
It comes with word and for some reason by default it is set to save information every 10 or 9 minutes. Due to this the saved information might be something that you had typed in 9 minutes ago and that was when it was last saved.
To change this feature and to make word save your work every one-minute just follow these steps. Note: due to this you might use up a little bit more ram and your cursor might go away while you are typing because word will be saving the date automatically.
Warning: Word only opens your file failure so remember to save your file regularly, because your better off safe than sorry.
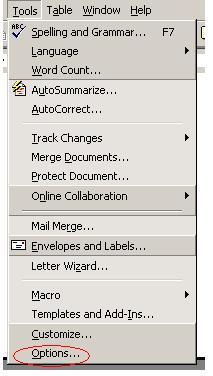
- First click on Tools. You can find the tools button in the menubar.

- Then click on Options…
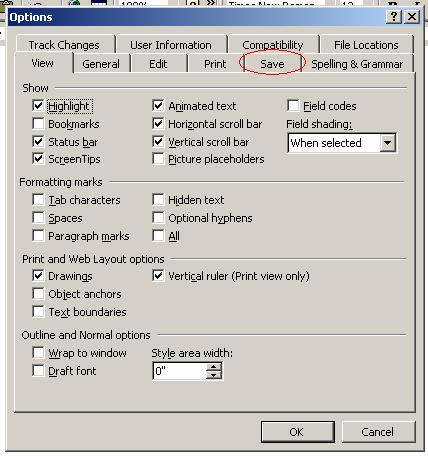
- After that click on the Save tab
- Make sure the check box beside “Save Save AutoRecover info every:” is checked
- Then use the tabs beside the number you see to make the number lower (I recommend you set it to one). You can also type in number 1. Note: you cant set it to a number lower than 1 because if you do that the check box will “uncheck itself”
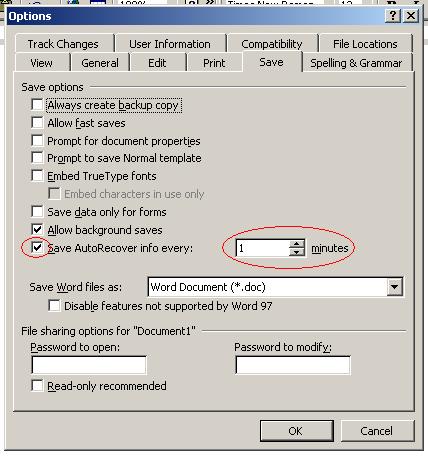
- Just click on OK and your all set!

There are many more things that you can modify from the options area, so go crazy and have fun!
Sorry about the messed up tutorail and the wierd screenshots. I couldn't do any better at school. That's why I have a better version of this tutorial at my website!
More blogs about technology.
Got a question, tip or comment? Send them to beyondteck+question@gmail.com and we'll try to answer it in a blog post!
No comments:
Post a Comment