Thanks to Adobe Photoshop, you can now make your pictures look more presentable (and professional for that matter) before you print them out, or just keep it with you to remember about those memories! Here's how you can make your pictures look more professional...
First, you need to understand the concepts that professionals use while they take their pictures. Then you can go ahead and use what photoshop has to offer. I am going to take this picture picture that my friend took and transform it into a work of art! You can do the same thing with your picture as well!
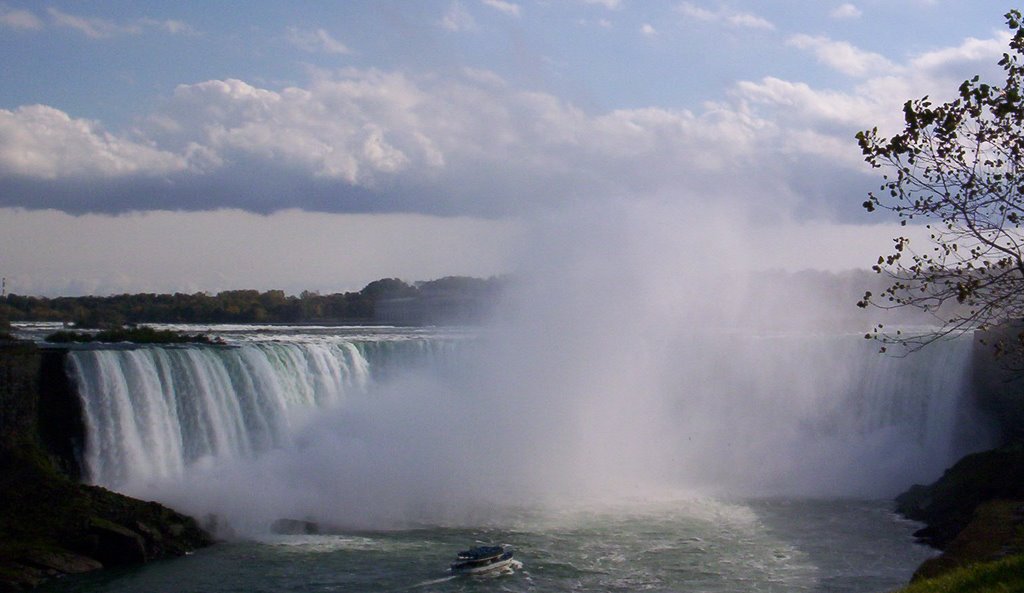
1. The First thing you should always to is follow the rule of thirds in any picture so that you don't have a boring picture!
So in the following picture I've tried to implement the rule of thirds alongside with a few other rules, of course it's not perfect because the picture wasn't taken properly. However according to my teacher, you can only have 4x6 or 5x7 or 8x10 images and there is no actual widescreen format, so I can't capture the whole horizon..

Here we see the rule of thirds in action (sort of since the picture isn't so good...) along with that some other things that I've considered while cropping the picture.
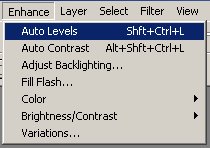
2. The next thing that I am going to do is change the colour of th picture using the levels tool (Image > Adjustments > Levels if you are using CS 2). You can also use the Auto levels tool (Image >Adjustments > Auto Levels in CS 2) to do this, but the results are not really as good as doing it manually. I will soon write up another post on how to use this magnificent tool... In Photoshop elements you can find the options here:
Here you can see that I've used the levels tool and reduced the jitter and lighting... sorry for wierd pic, I'll upload a better one later.
3. Now since my picture has a lot of light. The only thing it is missing is a little bit of colour. The main colour that I think that this picture is missing is blue, especially in the sky.
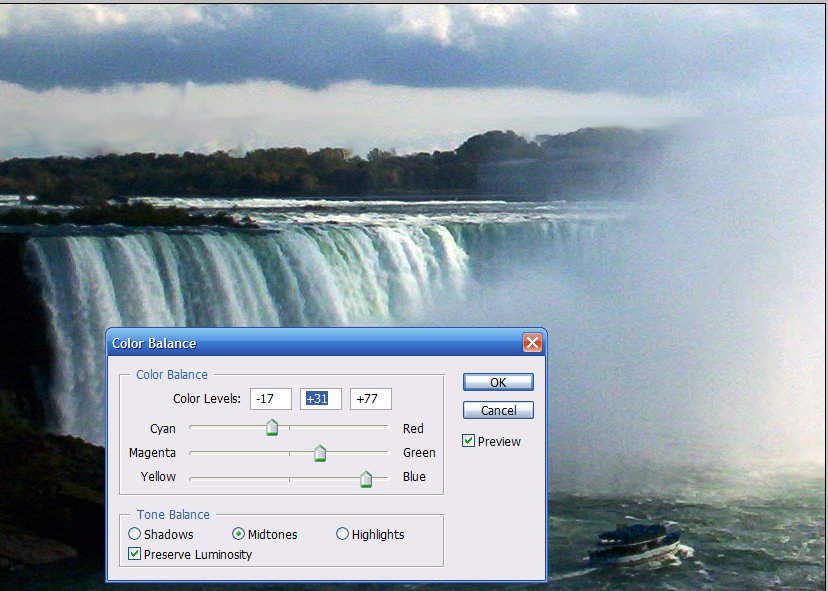
The blue is clearly more right now so that you can see the actual colour of the water...
3. Finally I am going to increase the resolution a little bit, since it still looks a little bit jittery.
Now the picture is ready to print and it looks more cleaner!
BEFORE

AFTER
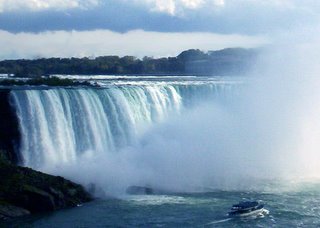
So here we can see how photoshop can help us in making out photos better than what they actually were! Now you can have fun editing all your picture from your latest
 photoshop, adobe, photography, enhancing, tips, digital camera
3. Now since my picture has a lot of light. The only thing it is missing is a little bit of colour. The main colour that I think that this picture is missing is blue, especially in the sky.
The blue is clearly more right now so that you can see the actual colour of the water...
3. Finally I am going to increase the resolution a little bit, since it still looks a little bit jittery.
Now the picture is ready to print and it looks more cleaner!
BEFORE
AFTER
So here we can see how photoshop can help us in making out photos better than what they actually were! Now you can have fun editing all your picture from your latest
Got a question, tip or comment? Send them to beyondteck+question@gmail.com and we'll try to answer it in a blog post!
No comments:
Post a Comment